Posted in:
On: April 19, 2022
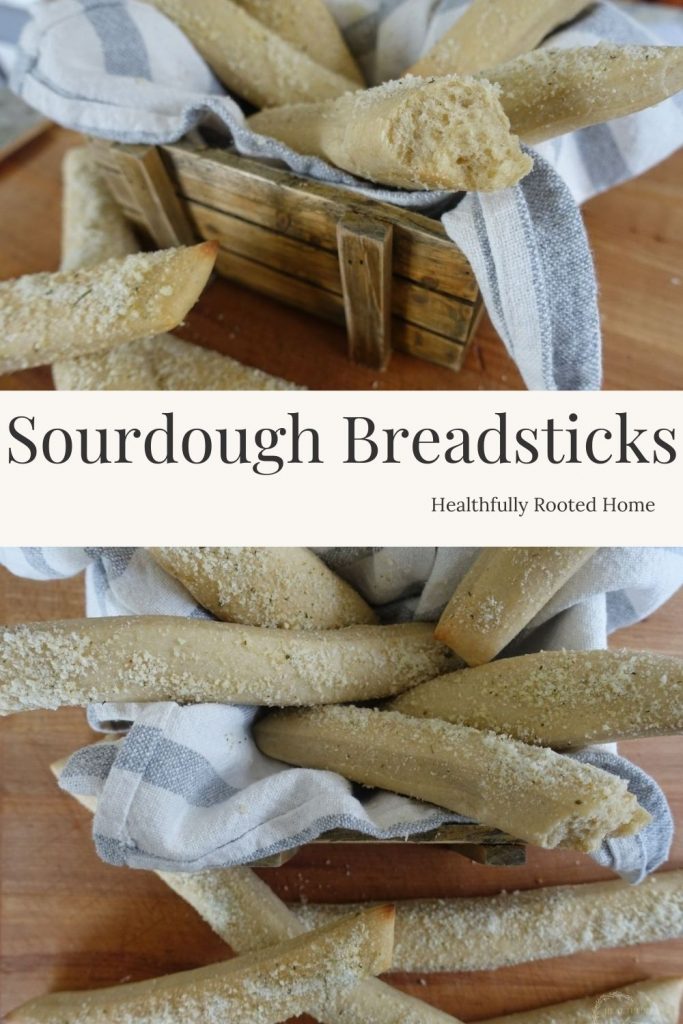
Sourdough Breadsticks
This post may contain affiliate links, which means I make a small commission (at no extra cost to you) on any purchases you make through clicking a link on this site. See my full disclosure here.
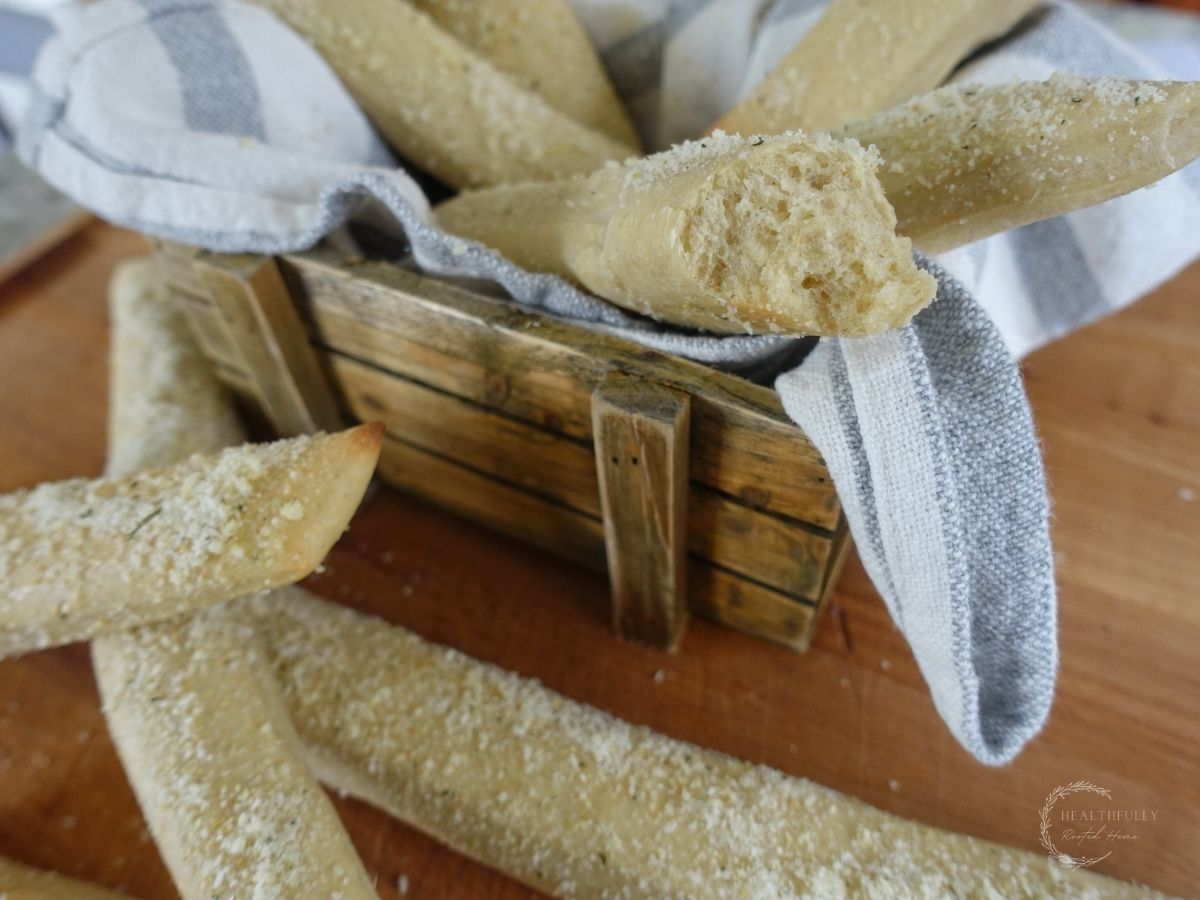
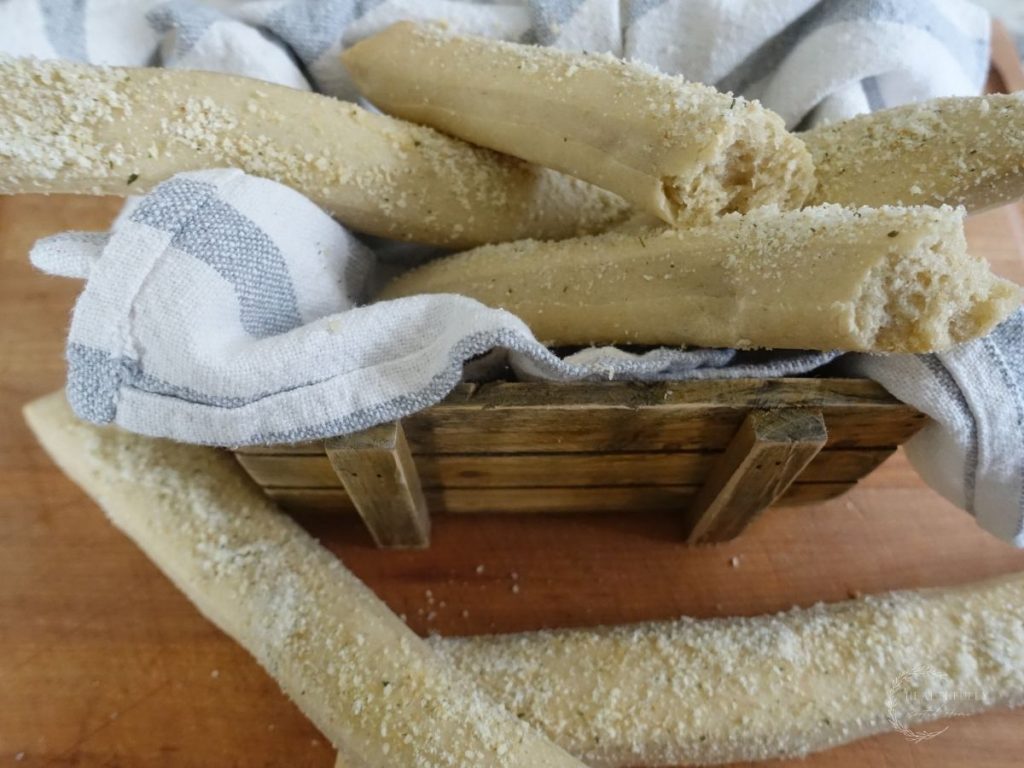
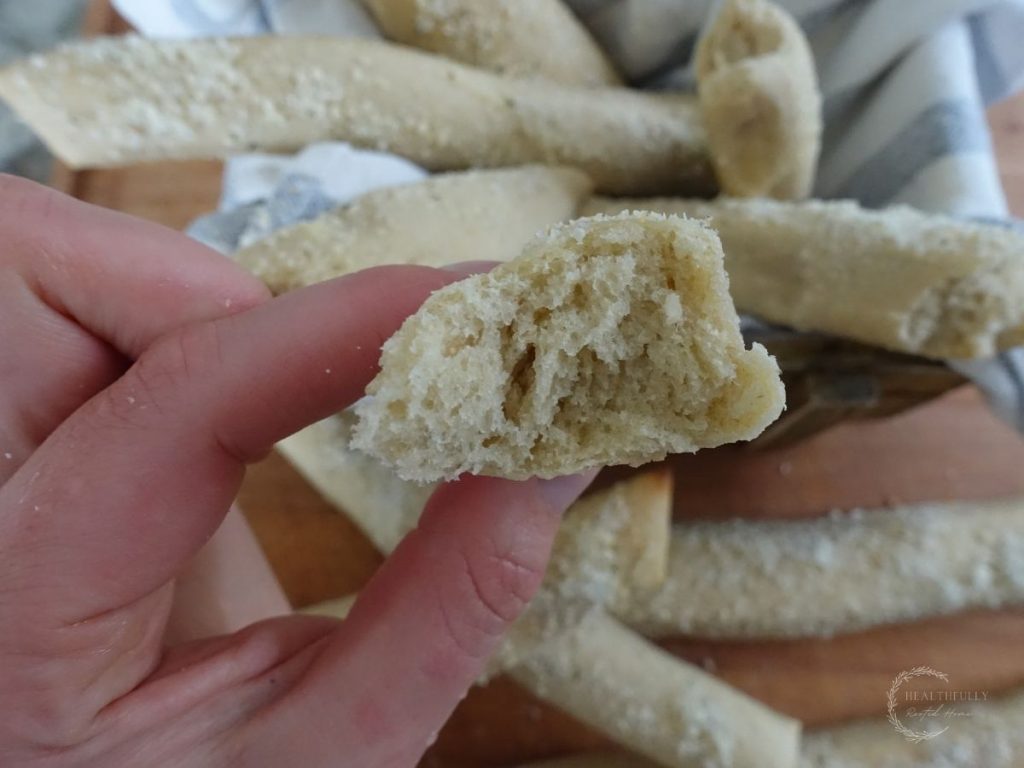
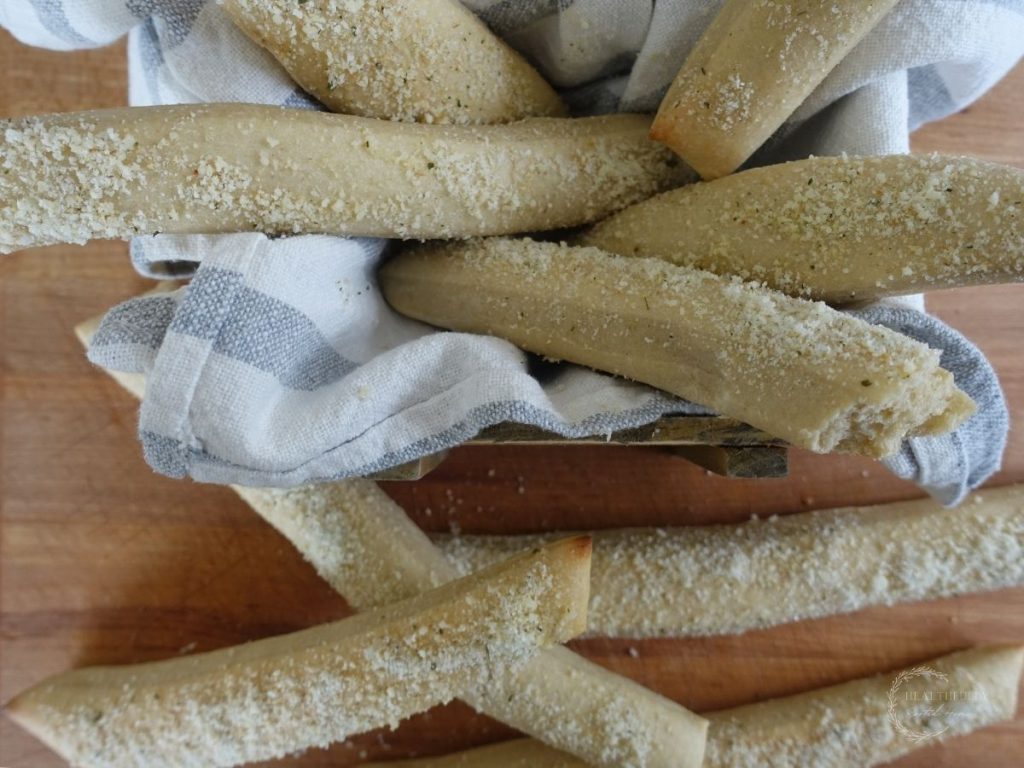
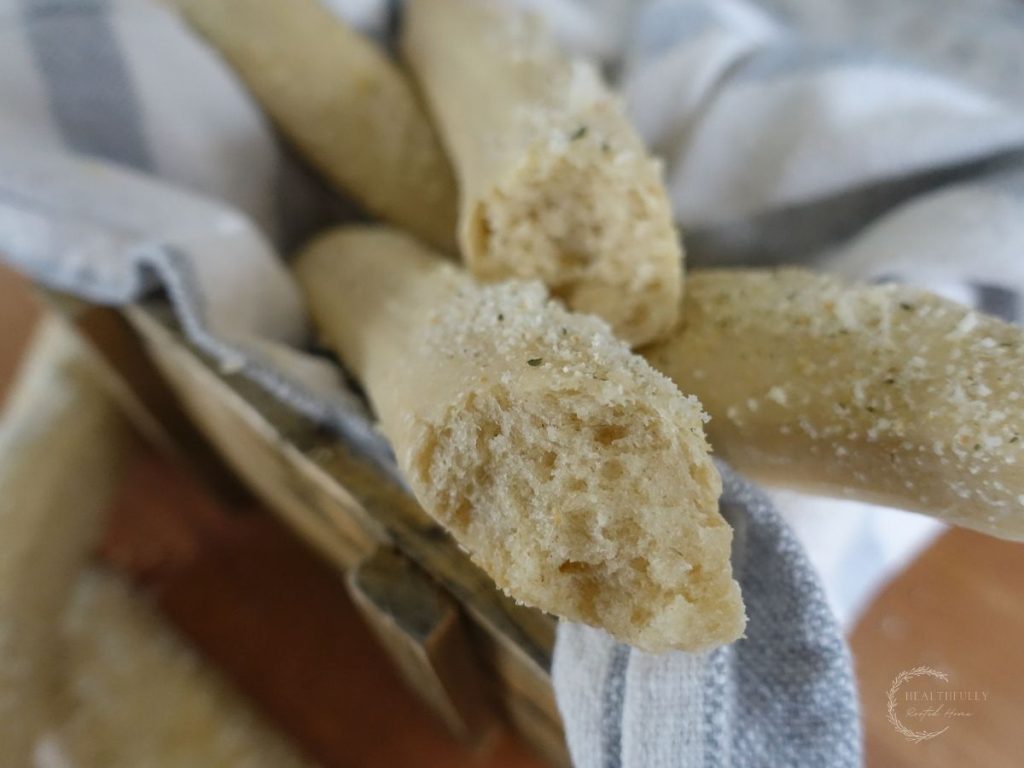
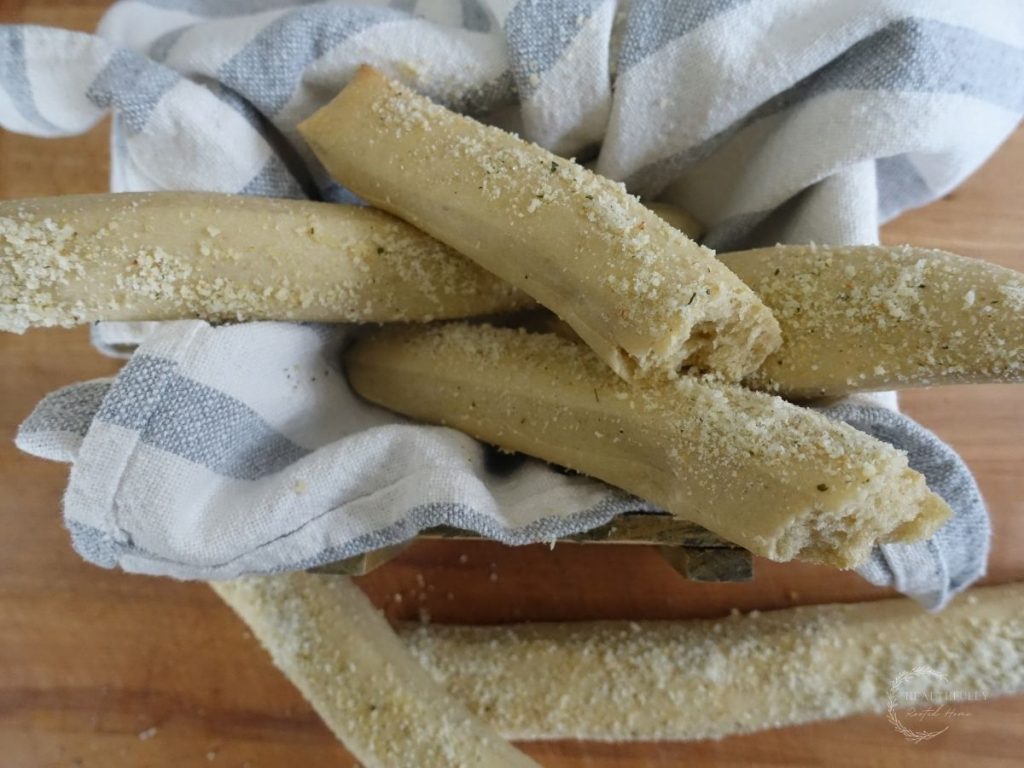
Sourdough breadsticks are incredibly soft, fluffy, and sprinkled with a garlic parmesan mixture. They’re like Olive Garden breadsticks but are long-fermented for good gut-healing health benefits.
Perfect as the bread component to any meal, and can be frozen for a quick meal finisher any night of the week!
Related: Sourdough Pretzel Bites
Related: Sourdough Discard Bagels

This post contains affiliate links, which means I make a small commission at no extra cost to you. See my full disclosure here.
Tools You’ll Need
- Sourdough Starter – My favorite kitchen “tool” is my active sourdough starter! Learn how to make a sourdough starter in 7 days right here.
- Stand Mixer – This isn’t necessary but makes the process so nice! Double the kneading time if using your hands. Find a stand mixer here.
- Large Non-Reactive Bowl – I like using glass or ceramic for sourdough foods so the metal doesn’t kill off my yeast.
- Water Filter – Super important to use filtered water for sourdough so the contaminants in tap water don’t kill off your yeast. We use a Berkey water filter and LOVE it! Get a discount using my link.
- Baking Sheet – even though my food rarely touches the actual metal, I like stainless steel instead of aluminum.
- Pizza cutter – Shaping these breadsticks couldn’t be easier. All you need to do is roll them out and slice with a pizza cutter!
- Rolling pin – Not necessary, but makes the rolling of the dough much easier.
- Pastry brush – Use a pastry brush to slather the melted butter overtop your breadsticks.
- Parchment paper – What I cover my baking sheets with if I’m not using silicone mats.
Recipe Highlights
No yeast sourdough breadsticks – a pet peeve of mine is when I’m looking for a sourdough recipe and I see a packet of yeast on the ingredients list. This is a true sourdough recipe and you don’t sacrifice fluffiness for it!
Variety of topping options – See my breadstick topping varieties below. They’re really endless!
Can freeze for later – my favorite thing to do with these is to eat a few for dinner the day I make them so they’re nice and warm, then freeze the rest for another night when I need a quick bread component.
Flexible baker’s timeline – The timeline is super flexible – you can do a one-day timeline, or overnight. The choice is yours!
How to Make Sourdough Breadsticks using Starter
Fluffy and flavorful long-fermented sourdough breadsticks slathered with melted butter and a garlic-parmesan topping. The whole family will love these breadsticks!
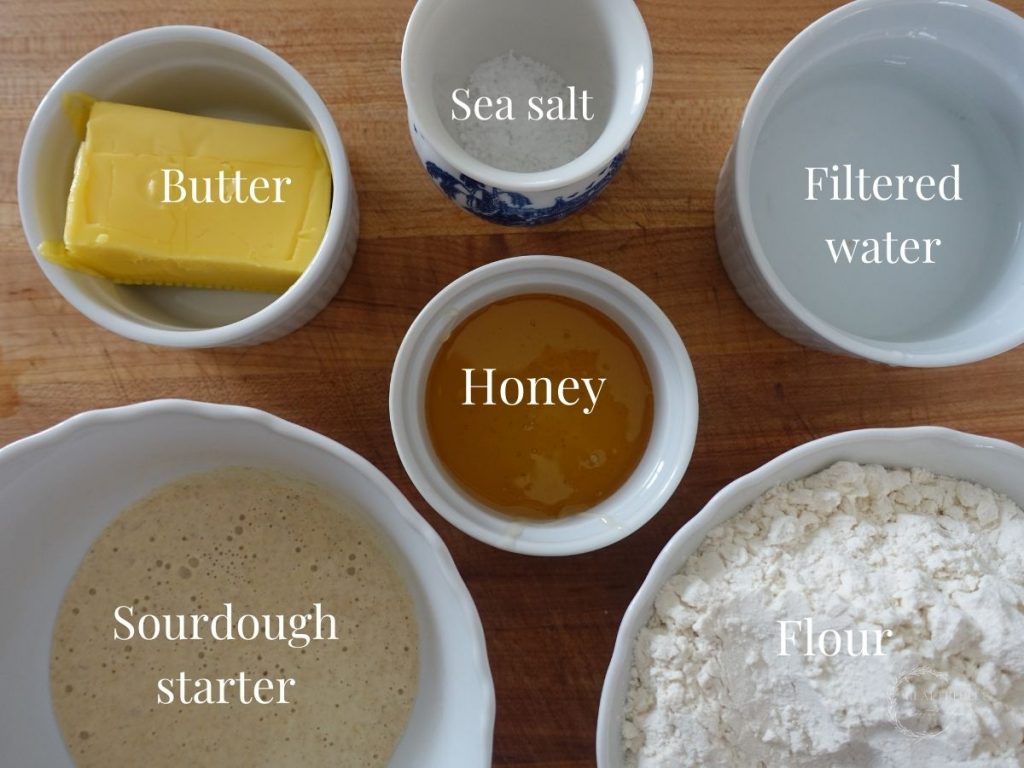
Sourdough Breadsticks Ingredients
- Sourdough starter – make sure she’s active and bubbly.
- Filtered water – filtered water is important with sourdough. Contaminants in tap water could kill off the yeast.
- Honey – I like to use honey as a natural sweetener for this recipe.
- Sea salt – I use either Maldon’s flake salt or Celtic grey sea salt.
- Butter – Quality butter is important – grass-fed, organic butter is what I get.
- Unbleached all-purpose flour – if you’re using a different flour with a different hydration level, you’ll need to adjust the water content.
Garlic Parmesan Topping Ingredients
- Melted butter – you could also go the olive oil route here.
- Garlic salt – this adds such good flavor to these breadsticks!
- Parmesan cheese – these seriously taste like Olive Garden breadsticks with the parmesan cheese! You could also use nutritional yeast here.
Step by Step Instructions (with photos)
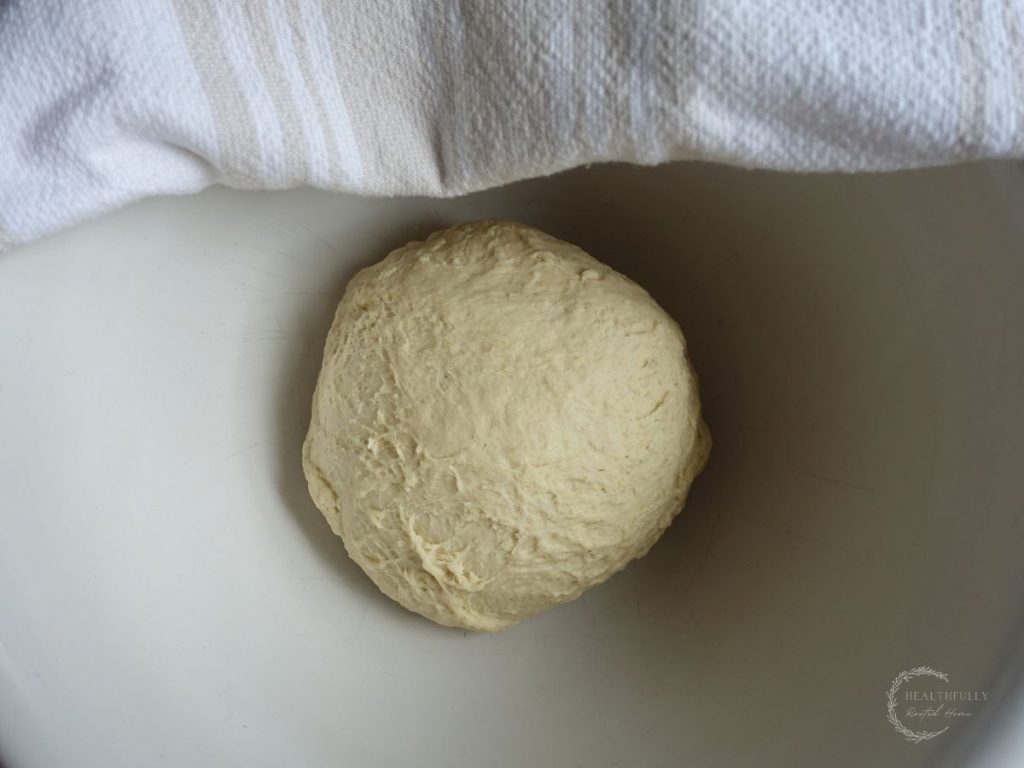
- Make your dough using ingredients for the dough (minus salt).
- Let your dough sit for 15 minutes.
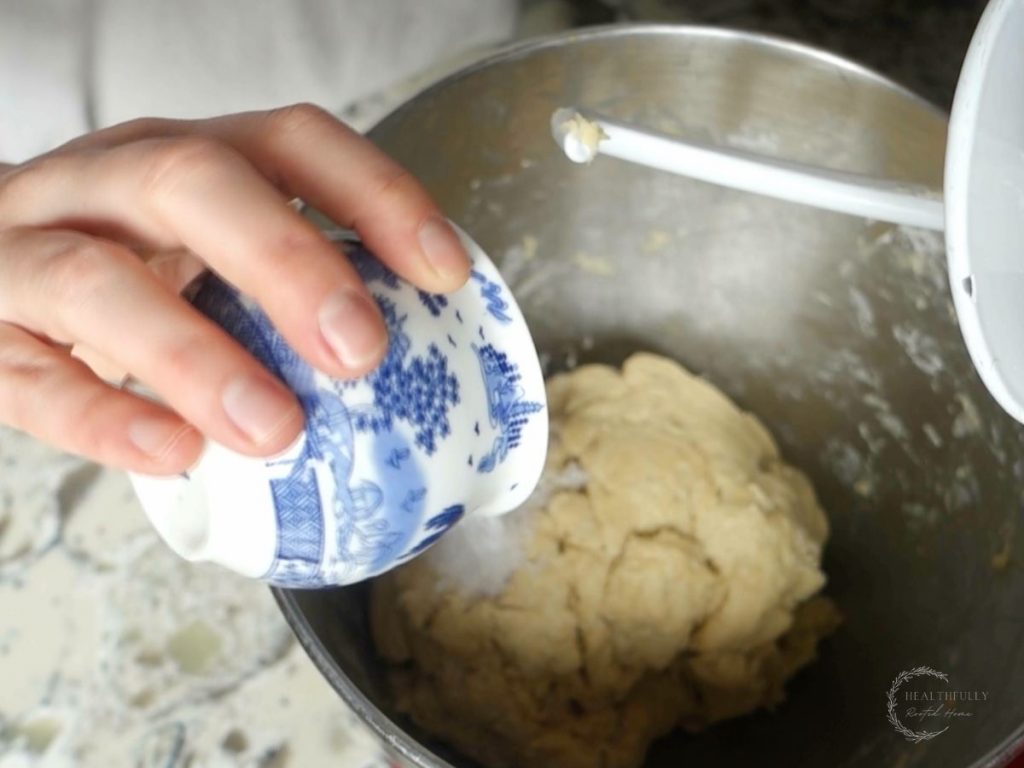
- Add salt and knead dough for 5 minutes on low speed.
- Transfer dough to greased bowl and ferment for 8-12 hours.
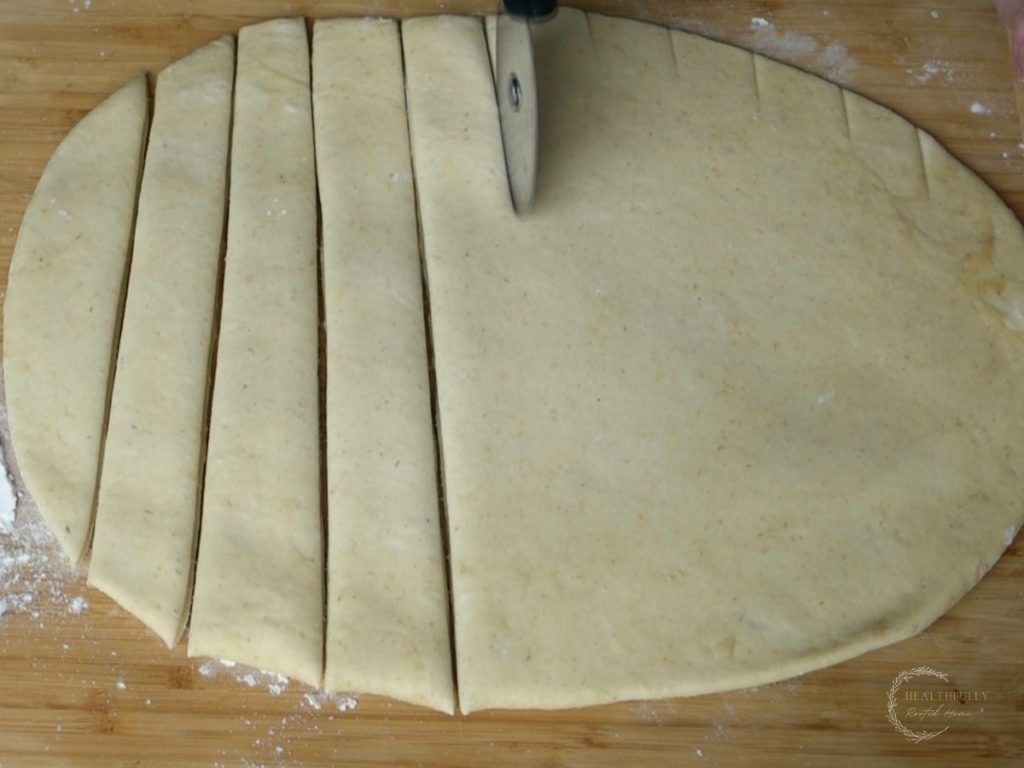
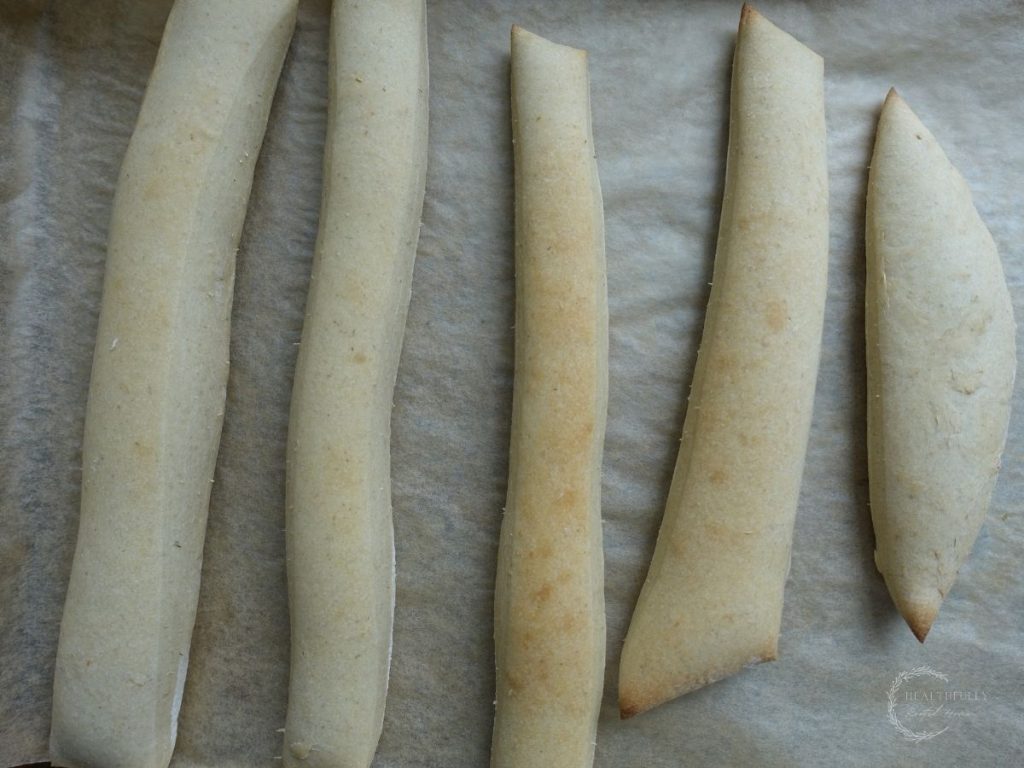
- Shape your dough into a 12×7 rectangle and use a pizza cutter to make your slices.
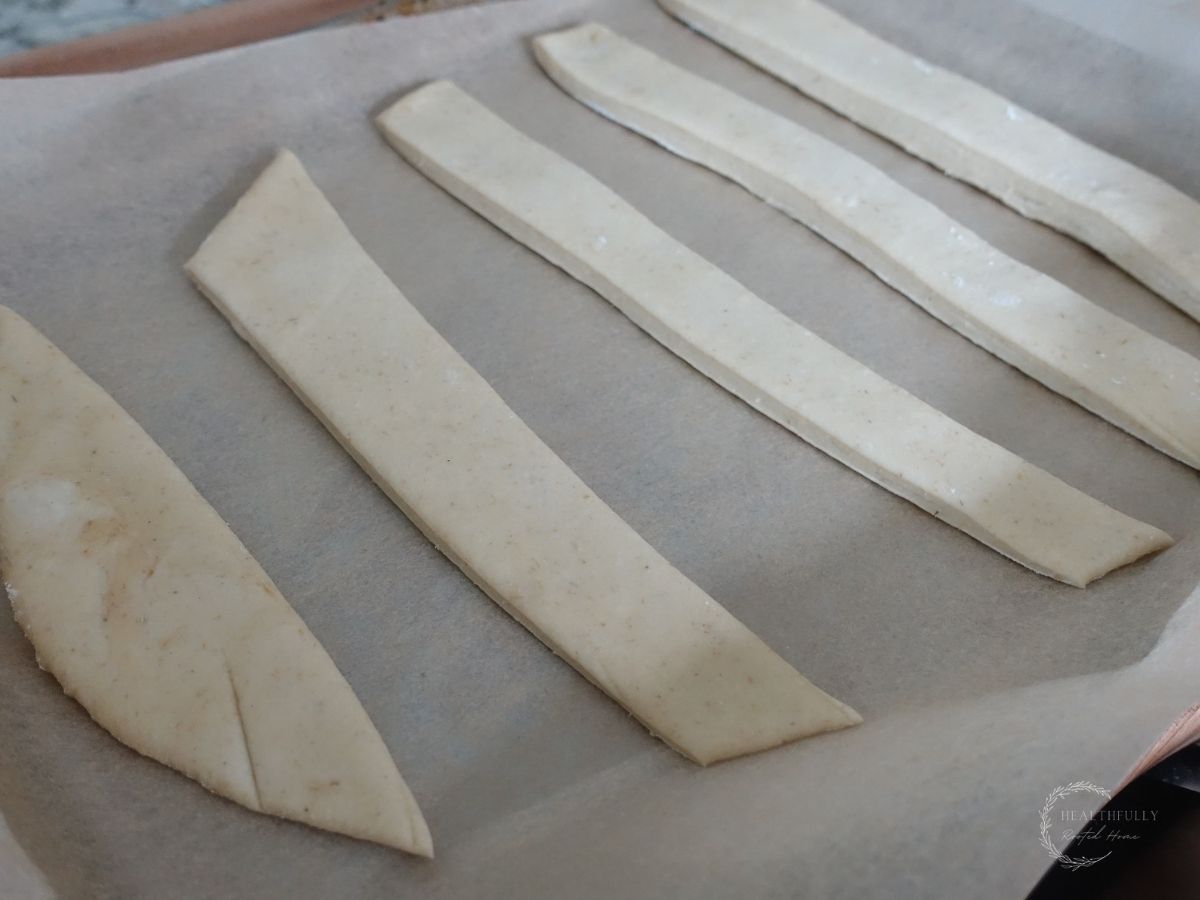
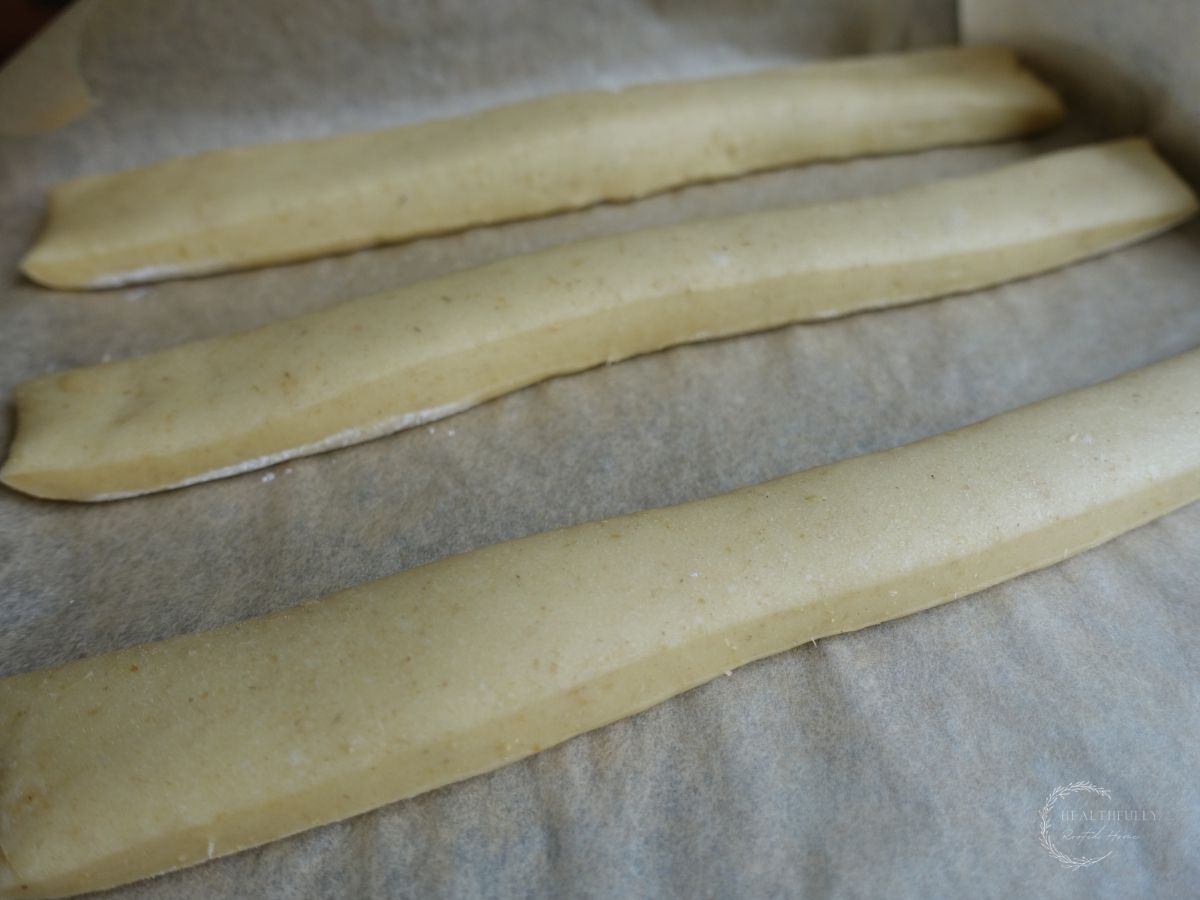
- Transfer breadsticks to a baking sheet and let proof until they puff up.
- Bake at 400F for about 10 minutes.
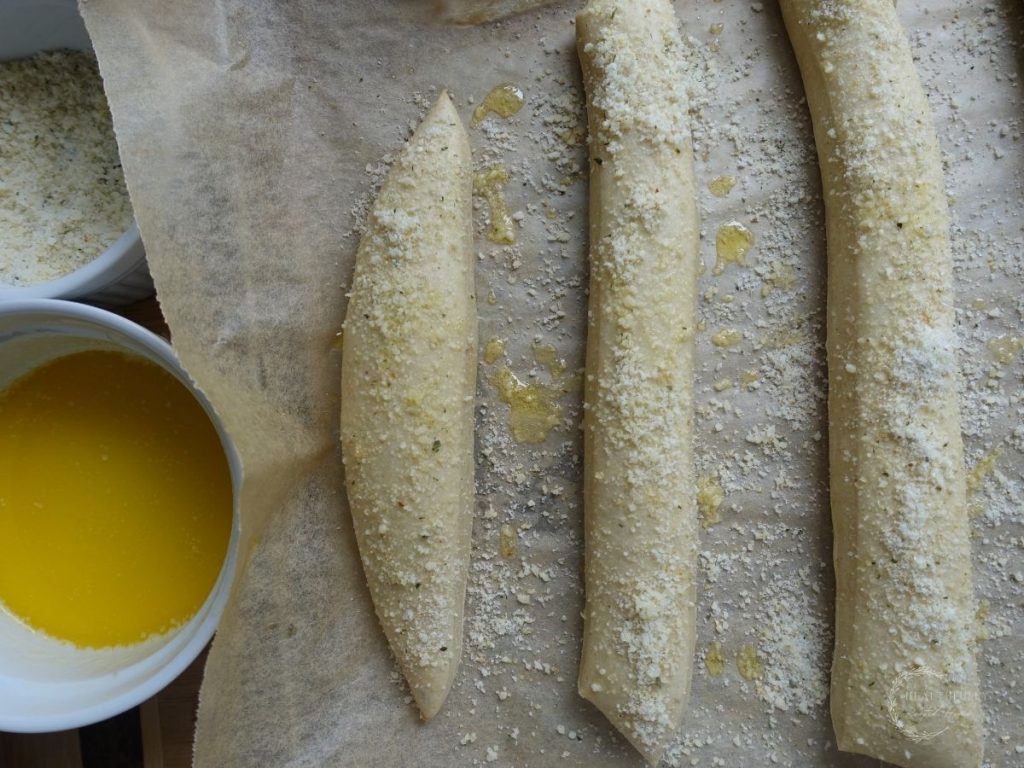
- Top with melted butter and garlic-parmesan topping.
How to Store Sourdough Breadsticks
As with any sourdough recipe, these breadsticks are best enjoyed on day one of baking. Even better straight from the oven! But here are storage options for you.
Room Temperature
You can store sourdough breadsticks in an airtight container at room temperature for up to 3 days.
Freezer
Sourdough breadsticks freeze wonderfully. Let them cool completely after baking then store in a plastic bag in the freezer for up to 3 months.
It’s best to freeze them without any toppings. When you reheat them, slather the warm, reheated breadsticks with butter and any other toppings you like.
Reheating Sourdough Breadsticks
Whether you stored them at room temperature or in the freezer, sourdough breadsticks can be heated either in the microwave until heated through, or in a 300F oven until heated through.
*It’s best to let frozen breadsticks defrost at room temperature prior to reheating.
In a Pinch Idea
Make-ahead – Make a double batch and freeze some for later. This makes for a great in a pinch bread component to any meal.
Sourdough Breadsticks Tips
If freezing – Don’t top the ones you plan to freeze for later with any sort of toppings – do this after reheating them to make them taste extra fresh.
Don’t bake too long – they should barely start to turn brown on the top. Baking too long will lose some of the fluffiness.
Test slice – When you’re ready to slice your dough, I like to make a little mark on the edge of the dough before cutting into it to make sure I evenly space the breadsticks.
Salt in the dough – A trick to make sure your sourdough isn’t dense is to add the salt after giving the sourdough starter time to activate in the dough. Don’t skip this step – it’s important.
Flour – less flour makes for fluffier breadsticks. Using too much will make them denser.
Related: Learn how to troubleshoot dense sourdough bread
How to Make Sourdough Breadsticks Healthier
This sourdough breadstick recipe is already quite healthy – here are the highlights for what makes them healthy, and further options!
- Sweetener – Use a natural sweetener to sweeten your dough. Honey is a great natural sweetener that is lower on the glycemic index than most sweeteners, it’s unrefined and has great nutrients!
- Long fermented – Long-fermented dough provides great gut-healing bacteria. This helps people to digest bread better too.
- Quality ingredients – Using quality ingredients will not only help your breadsticks taste better, but they’ll be much better for you too. Go for organic flour, grass-fed butter, raw and local honey.
- Toppings – This is the area where it’s easy to make a super healthy sourdough breadstick take a turn for the worst. Using good quality butter or oil will help to prevent this!
Baker’s Timeline
These timelines are very rough and the environment of your home will greatly affect what’s listed below. Use these as a guide and tweak as fits your schedule.
Overnight option
This will allow you to break bread by 5:30pm.
6am – Feed starter
10am – Make dough
10:30am – Proof dough
4:30pm – transfer bowl to fridge
12pm – Remove from fridge and allow the dough to come to room temperature.
3pm – Shape breadsticks
5pm- Bake and top
5:30pm – Serve
Same day option
This will allow you to break bread by 6pm.
6am – Feed starter
10am – Make dough
10:30am – Proof dough (in a very warm (75F or higher) place so they rise in time for dinner)
4:30pm – Shape dough and let rise in a very warm place.
5:45pm – Bake and top
6pm – serve
Serving Suggestions
My favorite part about these breadsticks is they’re great year-round! Especially in the summer when it’s hot out and you don’t want your oven on too long.
Pasta night – Nothing better than pasta and breadsticks. Create Olive Garden in your own home!
Salads – Make a large salad and serve these breadsticks on the side.
Appetizer – Bring these as an appetizer to any potluck, or party.
Sourdough Breadstick Topping Ideas
- Butter and sea salt
- Sesame seeds
- Everything Bagel seasoning
- Olive oil
- Zaatar seasoning blend
Shop This Post
(These affiliate links help to support this blog at no extra cost to you. Your support means the world to me!)
- Berkey water filter (we use the Royal because we drink an insane amount of water!)
- Thrive Market – 25% off & free gift! (where I get a ton of my ingredients)
- Azure Standard: $25 off your order. Code kyrieluke1
- Dutch oven
- Stand mixer
- Boos Block Butcher Block
- 12 inch Cast Iron Skillet
More Sourdough Recipes
Roasted Garlic Sourdough Bread
Pin it For Later – Sourdough Breadsticks
Related: Long-Fermented Sandwich Bread
Print the Sourdough Breadsticks Recipe
Sourdough Breadsticks
Ingredients
Method
- Add sourdough starter, water, honey, softened butter, and 1 1/2 cups flour to the bowl of a stand mixer fitted with a dough hook. Mix until a smooth dough forms.
- For the last 1/2 cup flour, add a little bit at a time until the dough begins to pull away from the bottom and sides of the mixer. Only use as much as necessary to form a workable dough.
- Let your dough sit for 15 minutes.
- Add your sea salt then continue kneading on low speed for 5 minutes or until the dough is smooth and elastic.
- Transfer the dough to a large greased bowl and cover with a tea towel. Let the dough ferment for 8-12 hours. You'll know it's ready when it's doubled in size. *to make this an overnight recipe, you can allow the dough to ferment for 4-6 hours, put it in the fridge until you're ready to bake. When you're ready to bake, bring it out several hours before shaping to allow it to proof at room temperature.
- Shape your dough by rolling it out on a floured surface (make sure your surface can handle a pizza cutter). Use a rolling pin to shape it into a 12×7 inch rectangle.
- Using a pizza cutter, slice the breadsticks into 10-12 breadsticks.
- Transfer breadsticks to a parchment-lined baking sheet, leaving about 1-inch space between each one. I split mine onto 2 baking sheets.
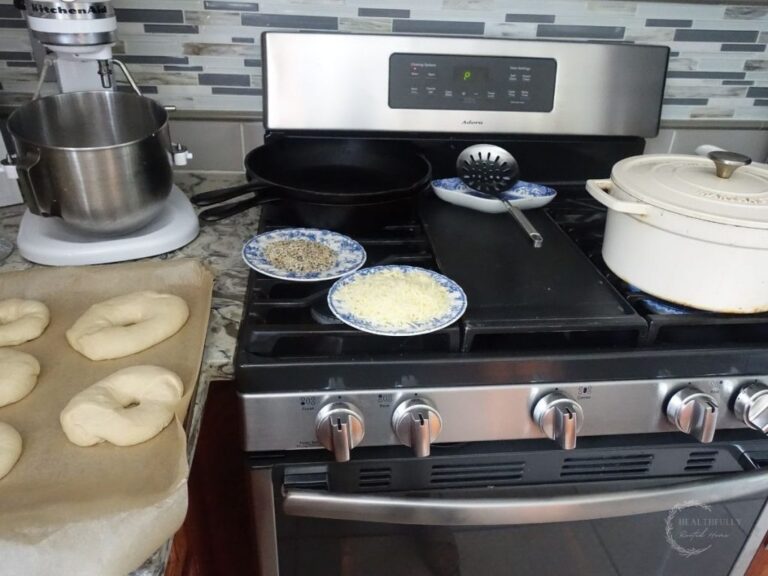
- Preheat your oven to 400F and allow breadsticks to proof in a warm place for a couple of hours until they puff up. I like to put the pan on top of the stove while the oven preheats since it gets quite warm there.
- Bake your breadsticks on the center rack for about 10 minutes. They should just barely start to brown on top.
- Remove from the oven and immediately brush with melted butter and sprinkle with the garlic-parmesan mixture.
Video

Notes
How to Store Sourdough Breadsticks
As with any sourdough recipe, these breadsticks are best enjoyed on day one of baking. Even better straight from the oven! But here are storage options for you.Room Temperature
You can store sourdough breadsticks in an airtight container at room temperature for up to 3 days.Freezer
Sourdough breadsticks freeze wonderfully. Let them cool completely after baking then store in a plastic bag in the freezer for up to 3 months. It’s best to freeze them without any toppings. When you reheat them, slather the warm, reheated breadsticks with butter and any other toppings you like.Reheating Sourdough Breadsticks
Whether you stored them at room temperature or in the freezer, sourdough breadsticks can be heated either in the microwave until heated through, or in a 300F oven until heated through. *It’s best to let frozen breadsticks defrost at room temperature prior to reheating.In a Pinch Ideas
Make-ahead – Make a double batch and freeze some for later. This makes for a great in a pinch bread component to any meal.Sourdough Breadsticks Tips
If freezing – Don’t top the ones you plan to freeze for later with any sort of toppings – do this after reheating them to make them taste extra fresh. Don’t bake too long – they should barely start to turn brown on the top. Baking too long will lose some of the fluffiness. Test slice – When you’re ready to slice your dough, I like to make a little mark on the edge of the dough before cutting into it to make sure I evenly space the breadsticks. Salt in the dough – A trick to make sure your sourdough isn’t dense is to add the salt after giving the sourdough starter time to activate in the dough. Don’t skip this step – it’s important. Flour – less flour makes for fluffier breadsticks. Using too much will make them denser.About Me

kyrieluke


Leave a Reply